 Home >
 Products
 Price:$49.95
The World’s first Android Data Recovery for Mac to Recover Contact, SMS, Photos, Videos,ect from Android Devices on Mac,Mac Android Data Recovery can help you Restore Android Lost Data on Mac Quickly & Safely.
 Easily recover deleted, formatted and lost data from Android on Mac
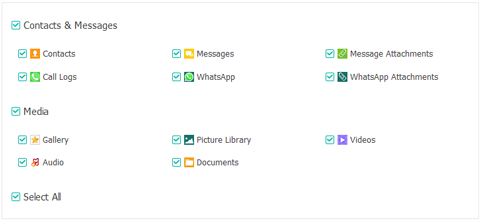
 Support recover contacts, messages, messaging attachment, call history, gallery, picture library, music, video and document from android or SD card
 Scan and restore Android lost or deleted data directly
 Supports recover data from all Android phone,like Samsung, HTC, LG, Motorola, Google Pixel/Galaxy/Nexus, Sony, Huawei or ZTE.etc.
Supported OS: Mac OS X 10.10.3/10.9/10.8/10.7![]()
For Windows: Andriod Data Recovery ![]()
Use Guides&Screenshoots


 Key Features
 Recover Lost Data from Android Phone/Tablet on Mac
Android Data Recovery (Mac) as the World's 1st Data Recovery for Android Smartphones for android users scan and restore lost data from Android on Mac.The Mac Android data recovery supports recover contacts, messages, messaging attachment, call history, gallery, picture library, music, video and document from your Android device and SD card on Mac. Whether you accidentally deleted files or corrupted your OS through a software update or ROM flashing, the Android Data Recovery can restore your most important data.

Below are the download buttons of Android Recovery both for Mac and Windows version.


Supported Devices:
Protect and recover data from your Android device running the Android OS, including phones and tablets from Samsung, HTC, LG, Sony, Motorola, ZET, Huawei, Google Pixel, Nexus, Windows Phone, Sharp, etc. See the complete list of devices supported here.
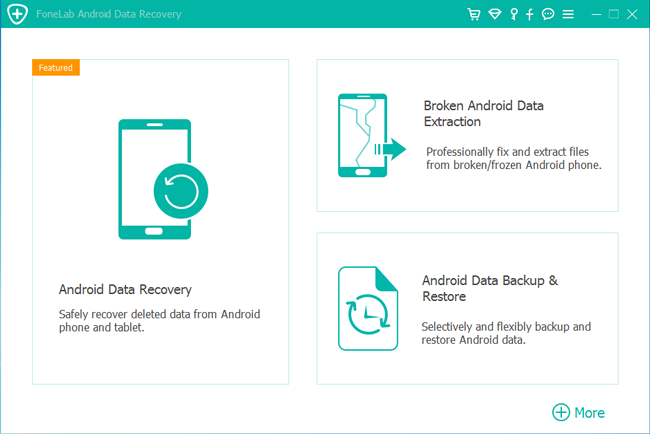
1 Download & Install FoneLab

.png)
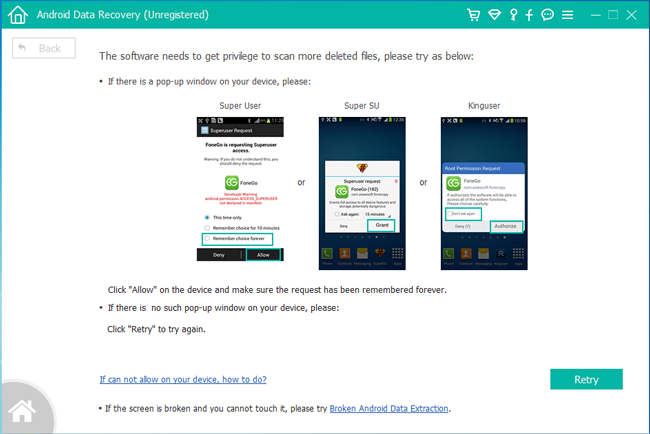
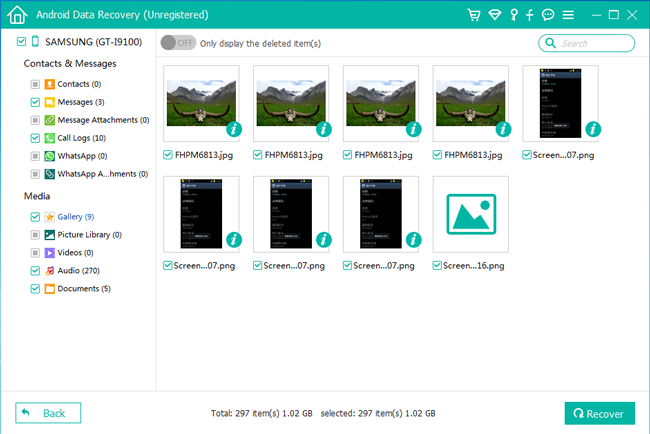
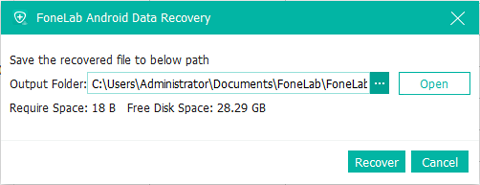


That's it. You can try it on your own and contact us if you have any problem using Android Data Recovery for Mac.


 Related Articles